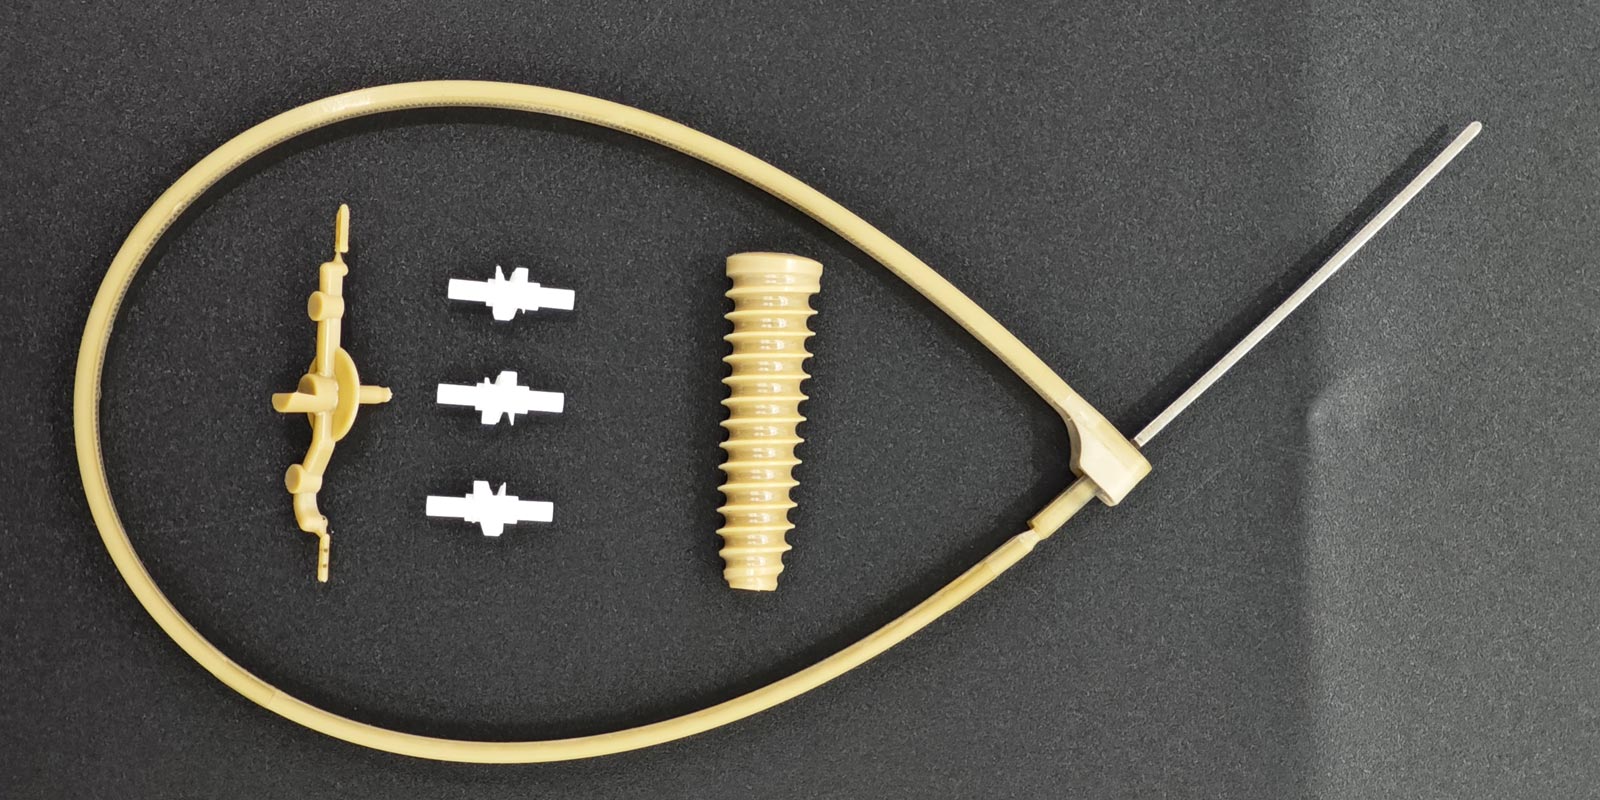
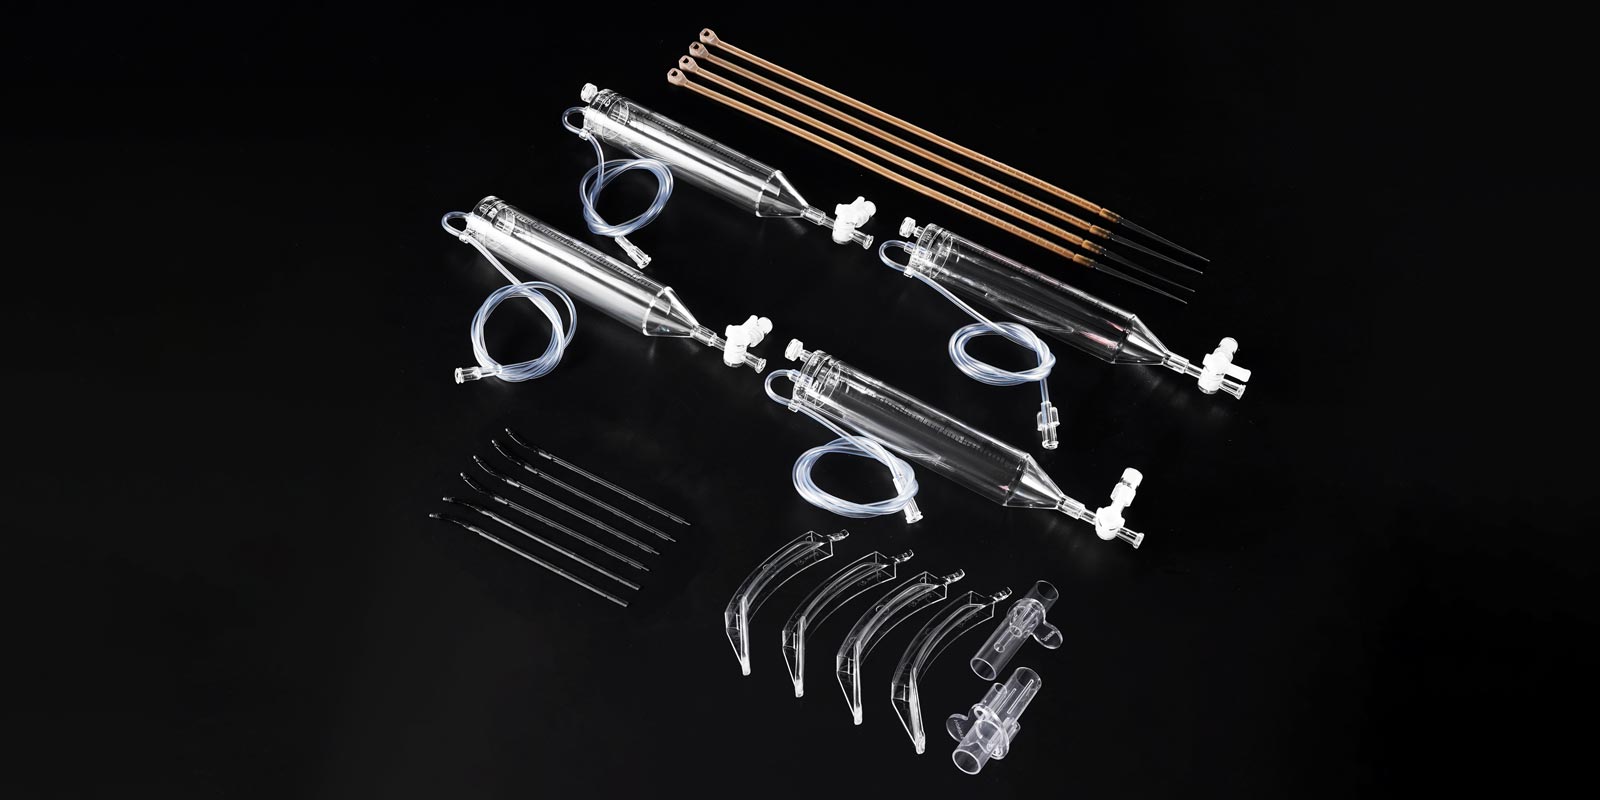
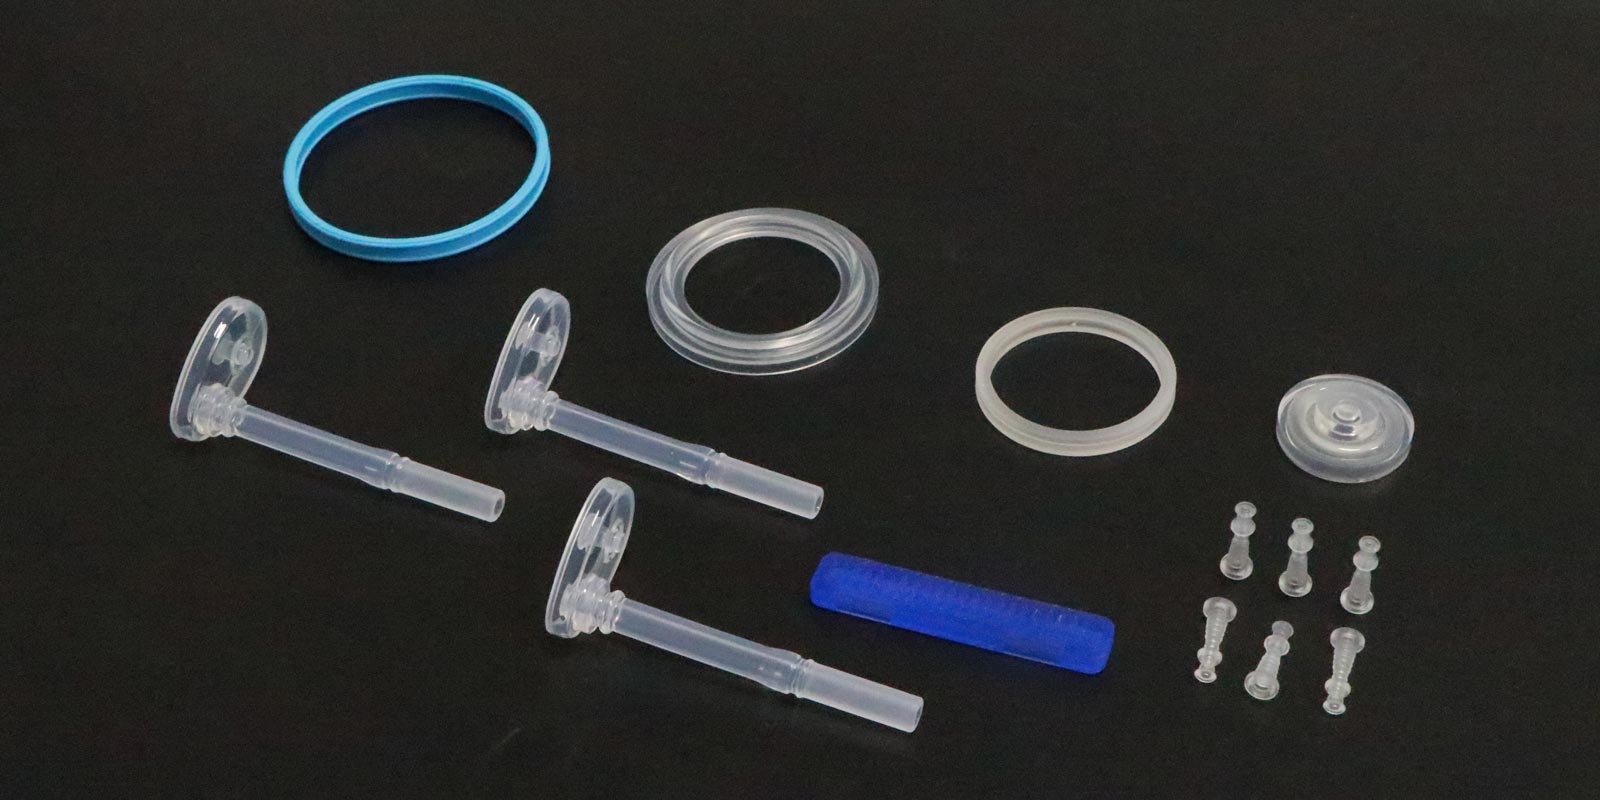
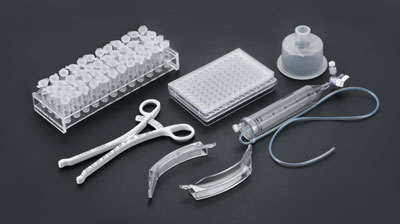
In the field of medical devices and consumables, trial molding in injection molding is a core process to ensure product performance, safety, and mass production stability. Medical injection-molded products, such as surgical instrument handles, catheter connectors, and implant inserts, have extremely high requirements for material biocompatibility, dimensional accuracy, and structural complexity. The trial molding process must balance process optimization and quality verification. Based on the characteristics of the medical industry, this article systematically outlines the standardized steps and key control points of trial molding.
I. Pre-trial Molding Preparation: Precise Design Verification and Equipment Adaptation
-
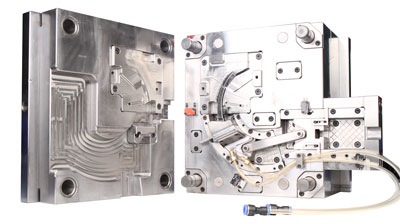
Mold Design Review and DFM Analysis
-
Evaluate the rationality of the mold structure based on the product's 3D/2D drawings and medical standards (such as ISO 13485). Focus on analyzing parameters like insert position, pre-compression value of the sealing surface, and draft angle. For example, the shrinkage rate difference between metal inserts and plastic parts needs to be compensated by pre-compression to avoid deformation after molding. Medical catheter connectors require a precise runner system to control weld line positions.
-
Use CAD/UG software for mold flow analysis to predict defects such as shrinkage and warping, and optimize gate location and cooling water channel layout.
-
Equipment Selection and Parameter Matching
-
Select an injection molding machine according to the mold size, ensuring that the maximum injection volume is ≥1.2 times the product volume and the clamping force is ≥ projected area × 400 kg/cm² (medical-grade materials usually require higher pressure).
-
Equip with mold temperature controllers and dryers: Medical-grade plastics (such as PPSU and PEEK) require strict temperature control, with mold temperature fluctuations ≤ ±2°C, and raw material moisture content ≤ 0.02% to prevent bubbles.
-
Material Pre-treatment and Batch Management
-
Medical-grade raw materials must provide biocompatibility certificates (such as USP Class VI) and be dried according to the supplier's recommended conditions (e.g., PEEK requires drying at 150°C for 4 hours).
-
Record the material batch number to ensure that the same batch of raw materials is used for trial molding and mass production, avoiding differences in shrinkage rate.
II. Mold Installation and Debugging: Mechanical Precision and Action Verification
-
Safe Hoisting and Positioning
-
Use dedicated lifting rings (with a depth ≥ 1.5 times the diameter) and align the mold with the machine's guide pillars through the locating ring to prevent mold tilting and jamming.
-
Connect the hot runner temperature control wires and cooling water pipes, and preheat the mold to 50°C (gradual heating to prevent thermal stress deformation).
-
Clamping Parameter Setting
-
Low-pressure slow clamping: Pressure ≤ 50 bar, speed ≤ 20% to avoid colliding with inserts or slides.
-
Set the low-pressure protection position (usually 2 mm before the parting surface contacts) to prevent mold damage.
-
Ejection System Calibration
-
Adjust the ejection stroke and speed to ensure no ejection marks or deformation on medical products (such as puncture needle seats).
-
Test the secondary ejection mechanism (if required) to ensure smooth demolding of complex structures.

III. Process Parameter Optimization: Balancing Quality and Efficiency
-
Temperature Control
-
Barrel temperature: Set in five sections (e.g., 320-360-370-360-350°C for PPSU) to ensure melt fluidity and thermal stability.
-
Mold temperature: Adjust according to material characteristics (e.g., 80-100°C for PC, 180-220°C for PEEK), affecting product surface gloss and internal stress.
-
Injection and Packing Control
-
Multi-stage injection: Adopt a "slow-fast-slow" strategy. The first stage speed ≤ 10% fills the cavity slowly to avoid air trapping; the second stage speed ≥ 80% for rapid filling; the third stage speed ≤ 30% for packing.
-
Packing pressure and time: Medical catheter connectors require high packing pressure (≥ 80% of injection pressure) to reduce shrinkage, and the packing time is determined by the gate solidification time (usually 30% of the total cooling time).
-
Cooling and Cycle Optimization
-
Cooling time accounts for 50-70% of the cycle and needs to be optimized through mold flow analysis of the water channel layout. For example, stent molds require conformal cooling channels to control local temperature.
-
Shorten the drying cycle: Using high-speed injection molding machines (such as electric injection molding machines) can reduce the cycle by 20%, but the product's cooling adequacy must be verified.
IV. Sample Inspection and Data Analysis: Quantifying Quality Standards
-
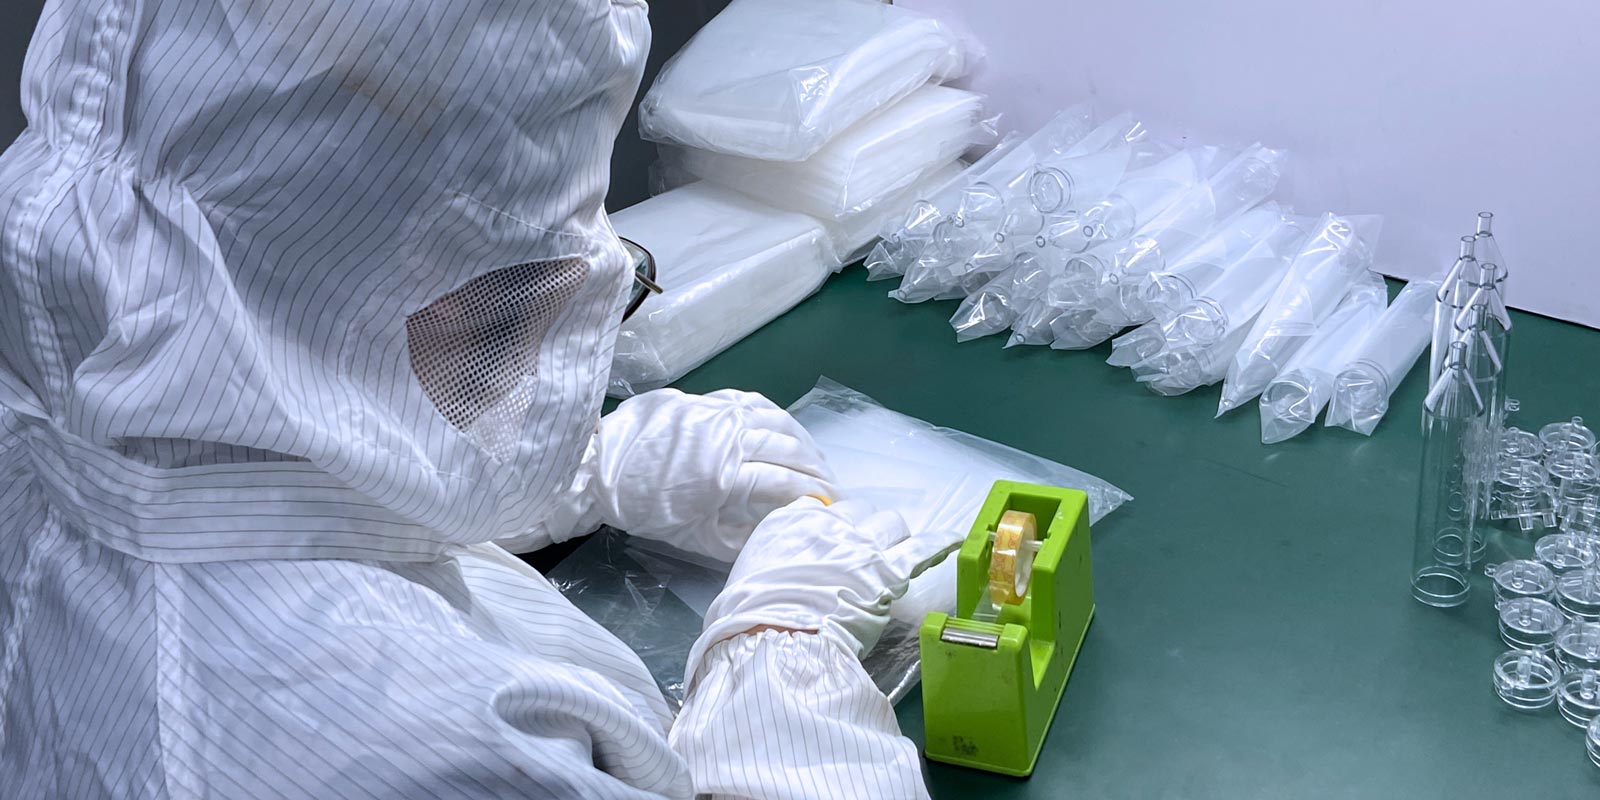
Appearance and Functional Inspection
-
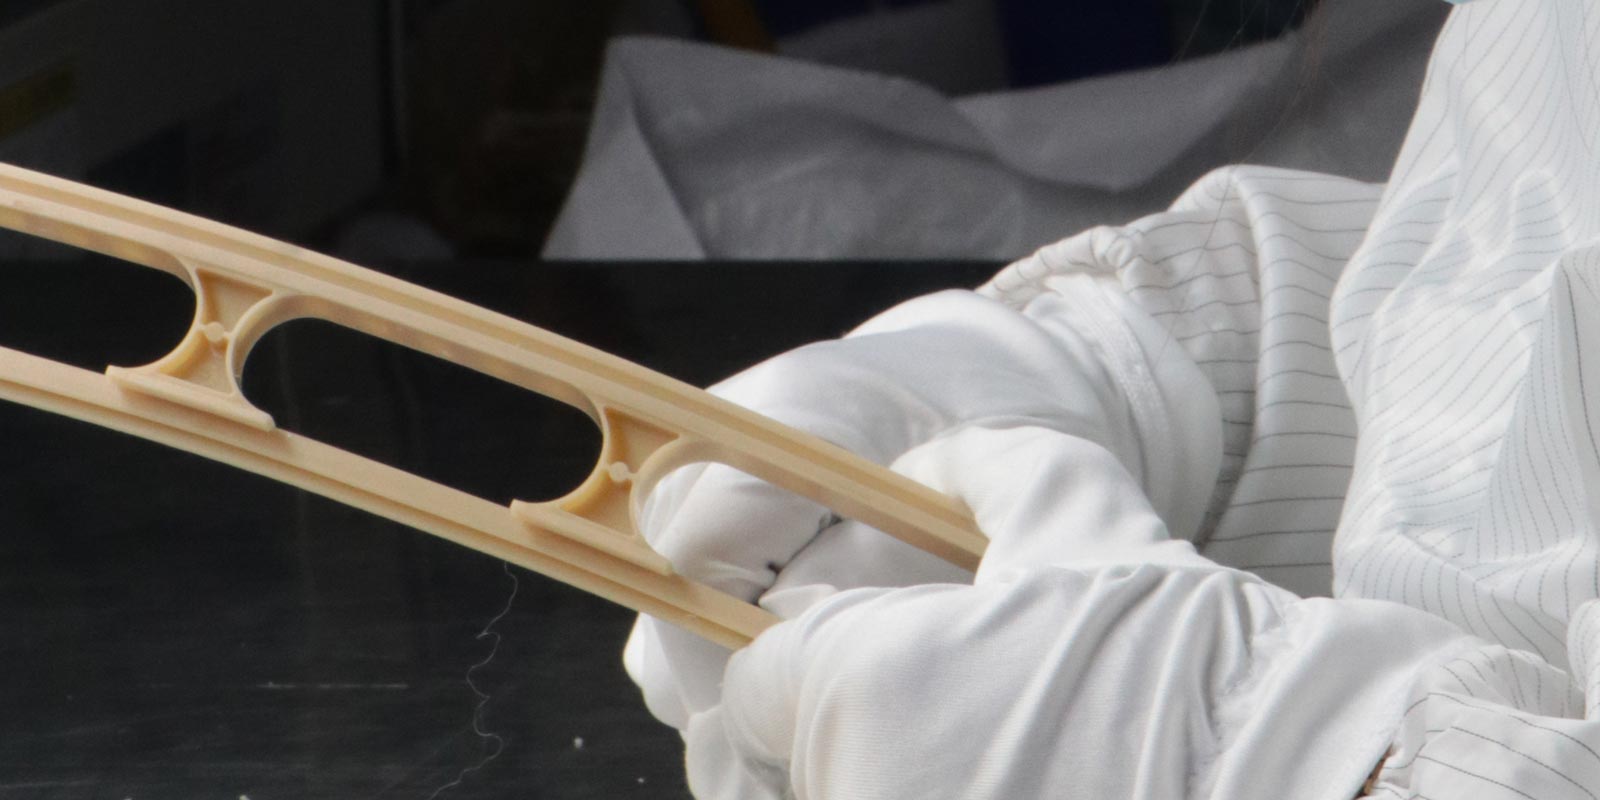
Medical products require 100% visual inspection for surface defects (such as silver streaks, burns, and flash), with insert position deviations ≤ 0.05 mm.
-
Functional testing: For example, the insertion and withdrawal force of catheter connectors must comply with ASTM F2392 standards, and the sealing performance of puncture needle seats must pass air pressure testing.
-
Dimensional Accuracy Verification
-
Use a coordinate measuring machine (CMM) to inspect critical dimensions (such as catheter outer diameter and insert hole pitch), with tolerances meeting medical industry requirements (e.g., ±0.02 mm).
-
Continuously produce 12-cavity samples and statistically analyze dimensional distribution (CPK ≥ 1.33) to identify differences between cavities.
-
Material Performance Testing
-
Tensile strength and impact toughness must comply with ISO 527/179 standards, and biocompatibility must pass cell cytotoxicity tests (ISO 10993-5).
-
Insert bonding strength testing: For example, the pull-off force between metal nuts and plastic must be ≥ 50 N (according to product design requirements).
V. Problem Solving and Mass Production Preparation: Closed-Loop Optimization
-
Root Cause Analysis of Defects
-
Shrinkage: Solve by increasing packing pressure or optimizing gate design.
-
Flash: Reduce injection pressure or adjust clamping force (recalculate the clamping force).
-
Insert misalignment: Improve positioning structure or increase pre-compression.
-
Process Documentation Finalization
-
Prepare a "Trial Molding Report," recording optimal parameters (temperature, pressure, speed, etc.) and equipment status (such as screw speed and back pressure).
-
Develop a "Mass Production Operation Instruction," clarifying first-article inspection, in-process inspection, and abnormal handling procedures.
-
Mold Maintenance Plan
-
Clean the mold cavity and ejector pins and apply anti-rust oil.
-
Regularly inspect the wear of slides and guide pillars. Medical molds typically have a service life limited to 500,000 cycles.
Conclusion
Trial molding in medical injection molding is a comprehensive application of technology, experience, and data. Through standardized steps (such as DFM analysis, multi-stage injection control, and CMM inspection) combined with industry-specific characteristics (such as biocompatibility requirements and insert precision control), the success rate of trial molding can be significantly improved, laying a solid foundation for high yield and compliance in mass production. As the medical industry demands more minimally invasive and intelligent products, trial molding technology must continuously iterate to adapt to the development trends of high precision and multi-function integration.


 Home
Home